
Subdomains are subdivisions of a website’s primary domain. In the web address, the name of a subdomain appears before the domain name with a period separating them. For example, Extra Life’s domain is extra-life.org and the Extra Life Community website is a subdomain of Extra Life, community.extra-life.org. Subdomains are themselves websites. They can host WordPress sites, forums, wikis, custom HTML, games… Pretty much anything the main domain can host, a subdomain can as well.
If you already have a website hosted through HostGator, you can have as many subdomains as you want. How do you create a subdomain though, and how do you upload custom content to it? This guide will walk you through how to host a Unity 3D or RPG Maker MV project on a subdomain of your HostGator-hosted website, but steps 2 and 3 apply to any custom HTML you want to host. If the game stuff doesn’t apply to you, skip to there. Otherwise, read on! This tutorial assumes you are using a Windows machine, but the steps are similar for other platforms.
Step 1: Build your game
If you’d like to host a game you’ve built on a subdomain of your website and you haven’t built the game for the web yet, obviously, you’ll need to do that. 🙂 Below are basic instructions for Unity 2018 and RPG Maker MV.
Unity 2018
In Unity, open the File menu and select Build Settings…

In the following window, check the scenes to include in the build and select WebGL as the Platform. You can find more settings by clicking the Project Settings… button. This article on Unity’s website has more information about these settings, the build process, and its products.
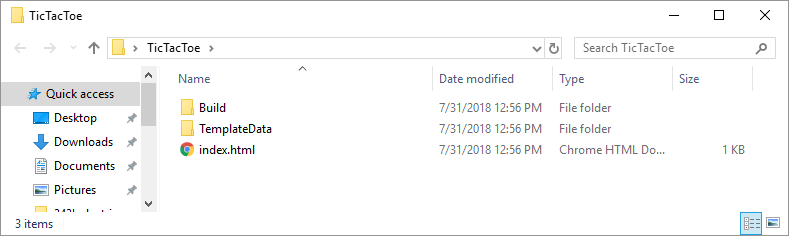
When you’re satisfied, click Build. Note that if you don’t have WebGL support installed, you will be prompted to install it. Otherwise, you’ll then select a folder to save the game files in. Unity will build the game and save two folders and an index.html file to your selected location.
You can test the game by opening the index.html file in a web browser. If you use Chrome, it typically doesn’t like accessing local files and will likely display an error message. You might want to use Firefox or another browser instead.
RPG Maker MV
In RPG Maker MV, open the File menu and select Deployment…
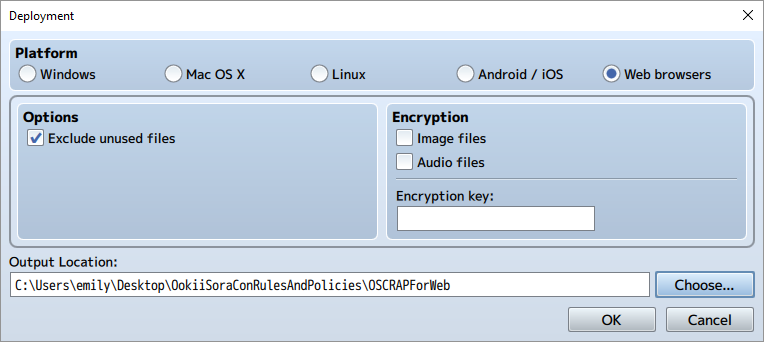
In the following window, check “Web browsers” from the Platform radio buttons and select an Output Folder. I also recommend checking the “Exclude unused files” option. If desired, you can also select to encrypt your Image or Audio files. When you’re done, click OK.
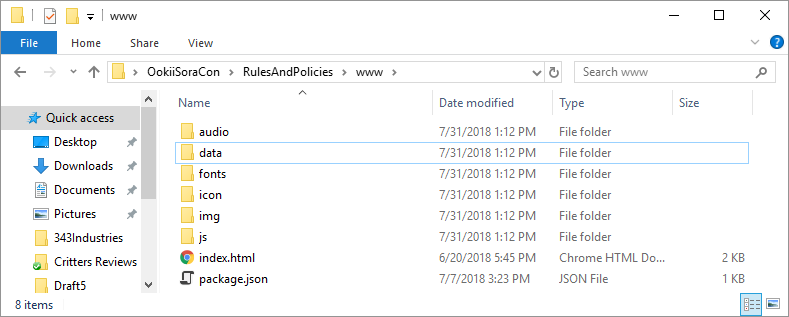
Within the location you selected, RPG Maker will produce an index.html file and several folders of assets. If you’ve added any extra folders to your RPG Maker project, these will also be copied automatically. I, for instance, had a folder where I saved json files produced by the Character Generator and a folder of Photoshop files for custom image assets. Feel free to delete these extra folders if they aren’t required for your game to run.
You can test the game by opening the index.html file in a web browser. If you use Chrome, it typically doesn’t like accessing local files and will likely display an error message. You might want to use Firefox or another browser instead.
Step 2: Create a Subdomain
If you don’t have a subdomain for your project already, you’ll need to create one. You can do this within your website’s cPanel.
Step 2a: Login to cPanel
HostGator will have sent you an email with instructions on how to access cPanel when you purchased your domain and hosting service. Since I use shared web hosting, I log in to cPanel by navigating to a web address that looks something like “gator1234.hostgator.com:2083”. Once there, you’ll be prompted for your cPanel username and password. Note that these are separate from your credentials for entering the HostGator Customer Billing Portal or, if your primary domain hosts a WordPress website, your WordPress credentials.
You can find other methods to log in to your cPanel in HostGator’s article on the topic here.
Step 2b: Create a Subdomain
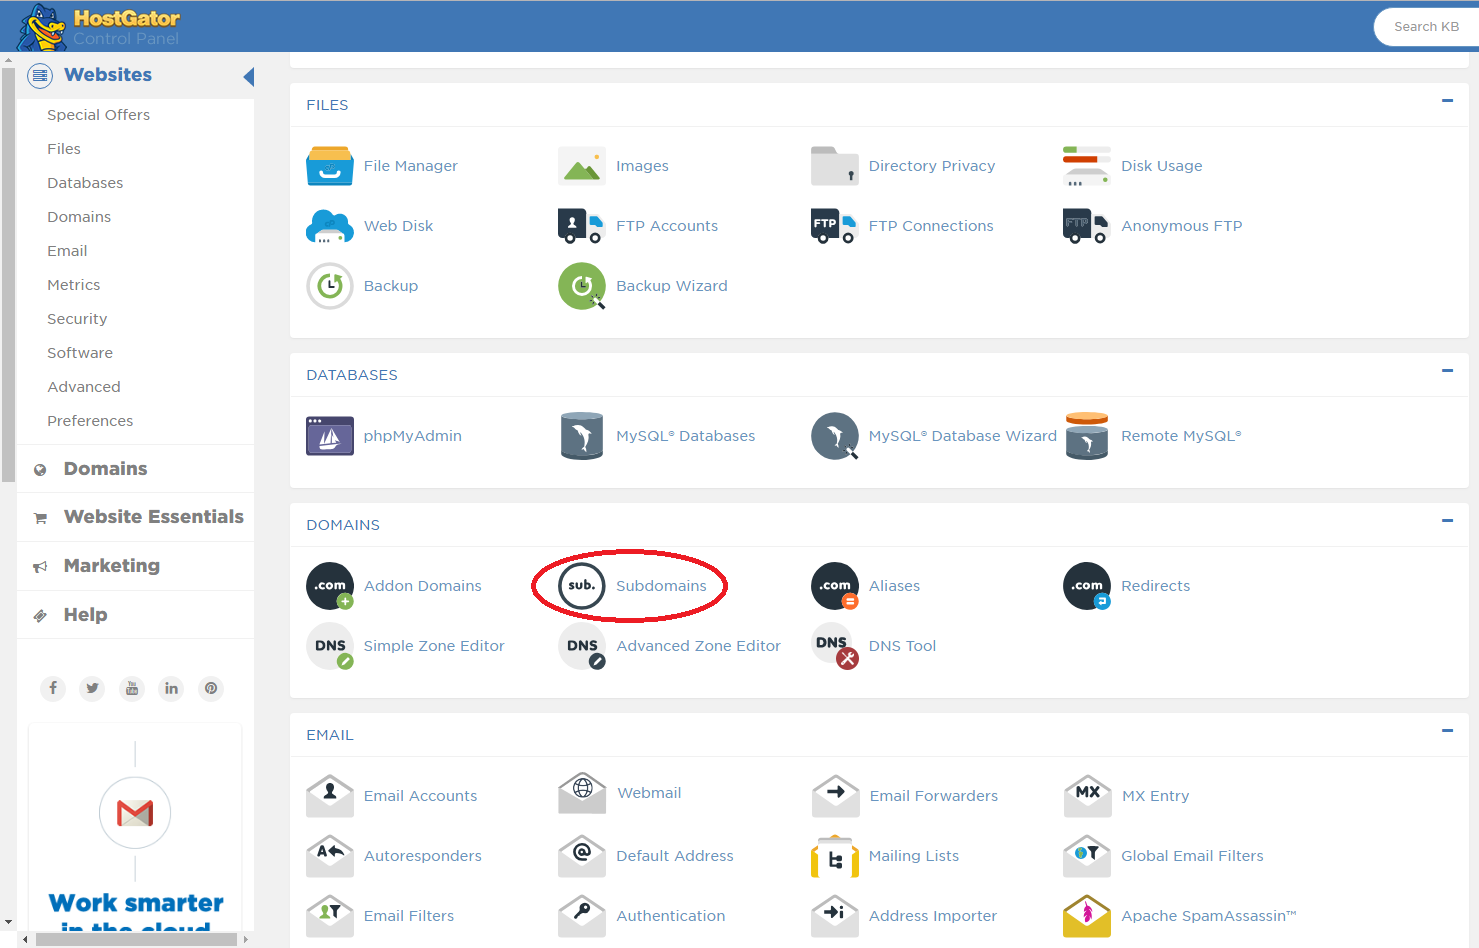
In cPanel, scroll down to the Domains section and click Subdomains.
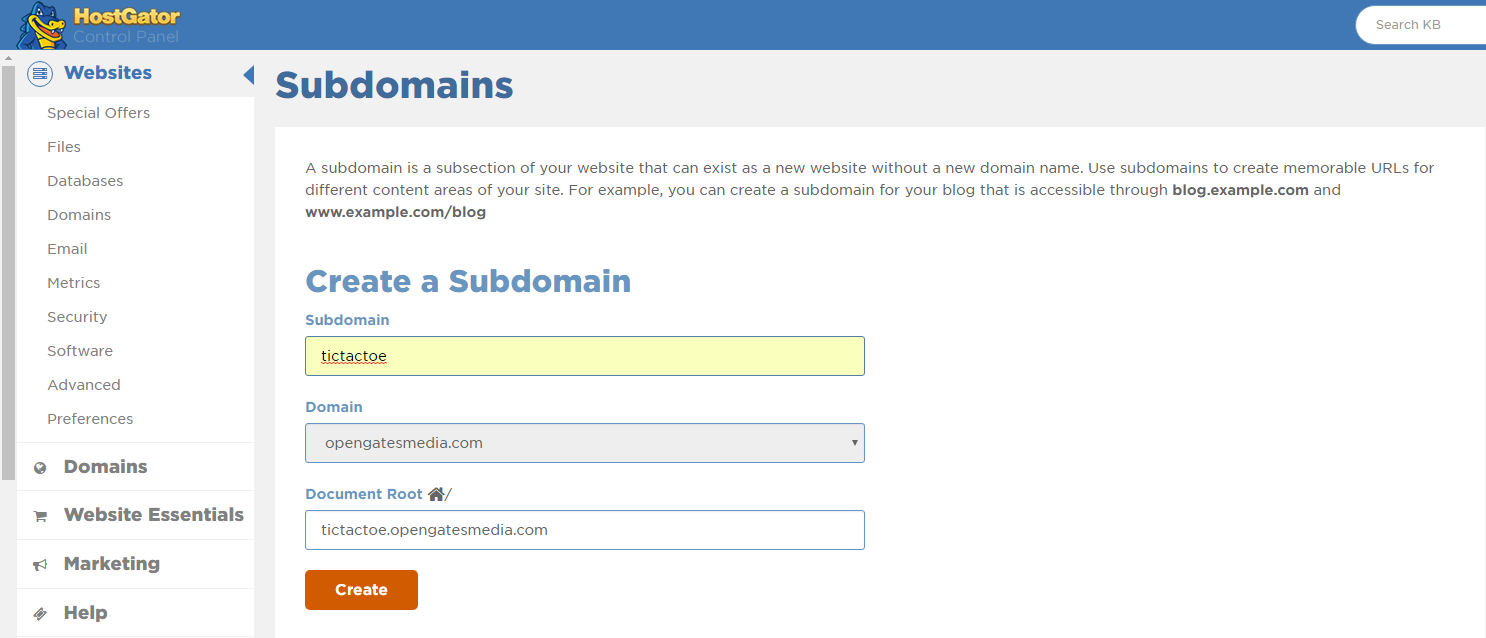
On the following page, enter the name of your subdomain in the Subdomain field. For example, if I wanted to host a Tic-Tac-Toe game, I could enter “tictactoe” as my subdomain.
When you’re done, click Create. You’ll see the Document Root field automatically populate with a folder that will contain the subdomain’s files on the web server. In my case, this default location is “tictactoe.opengatesmedia.com”.
Step 3: Upload the game files to your website
Now that the game is built and has a destination, you’re ready to upload the files to your website. We’ll do this with an FTP Client. If you’ve never used one before, this tutorial will use FileZilla. You can download it here.
Step 3a: Connect the FTP Client to the web server
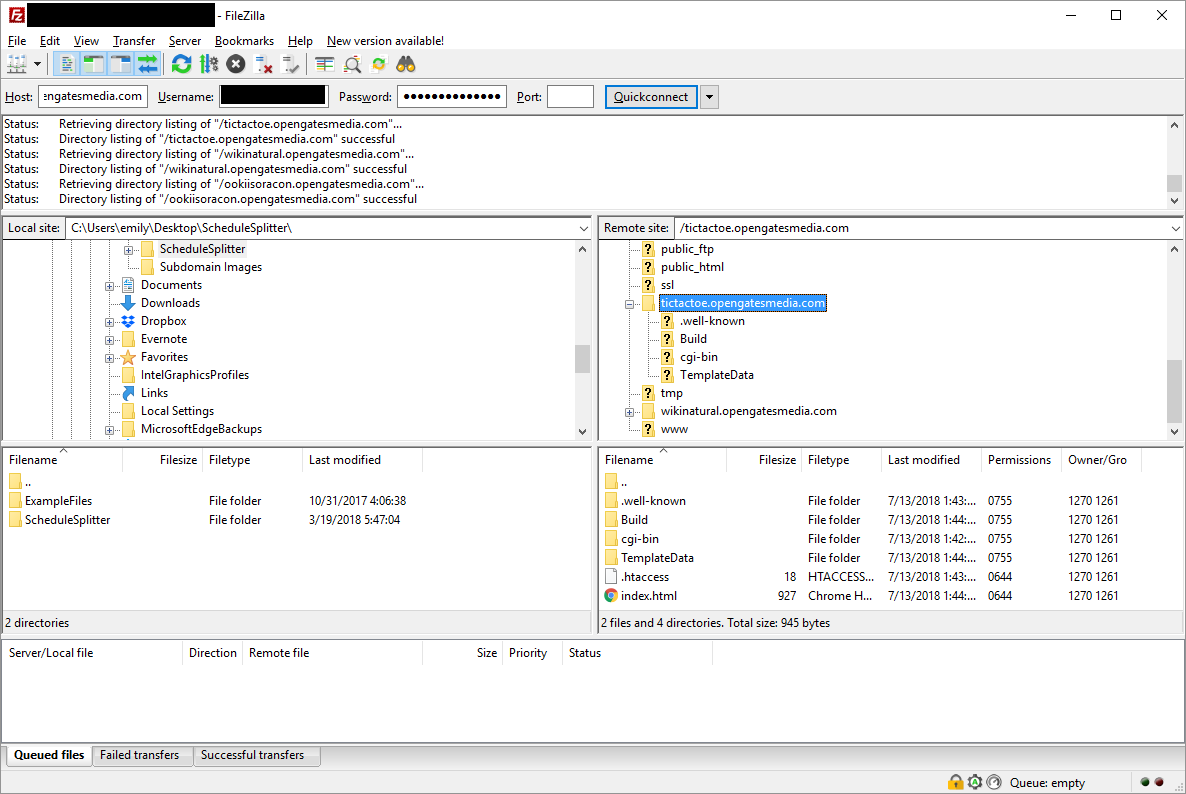
By default in FileZilla’s interface, the folder hierarchy displayed on the left corresponds to the contents of your computer. The hierarchy on the right corresponds to the folders and files on the web server, provided you’re connected to one. Let’s do this now.
Near the top of FileZilla’s interface, you’ll see a Host, Username, and Password field. Enter your domain name in the Host field. For me, this is opengatesmedia.com. Don’t include “http://” or “https://”. The username and password are the same as you would use to login to cPanel in a web browser. Once you’ve entered this information, click Quickconnect. You should now see the folders on the web server displayed on the right.
Step 3b: Copy the files to the subdomain folder
The subdomain’s files will be located in the folder specified in the Document Root field when you set up your subdomain. If you didn’t change the default location, this will be a folder in the root directory with the name <yoursubdomain>.<yourdomain>.com. Mine, for example, is called “tictactoe.opengatesmedia.com”. Inside this folder, you’ll find two sub-folders and a .htaccess file. Add your game’s index.html file and the other generated folders to this folder. In FileZilla’s interface, you can do this by navigating to the files’ location on your computer on the left and dragging them to the subdomain’s folder on the right to copy them to the server. You can also open a separate file browser window on your computer and drag-and-drop them to the subdomain folder from there.
Once the files have finished copying, navigate to your subdomain in a web browser. For me, that’s tictactoe.opengatesmedia.com. If you get a 404 Not Found error, you may need to wait a few minutes to a couple hours for HostGator to finish setting up your subdomain. When everything’s up and running, you should be able to see and play your game!